Image Resizer
This guide shows you how to change the size of your pictures — smaller or specific dimensions — so they load faster and fit perfectly on your site.
Free plan limits and upgrades
Free users can run up to 15 uploads per day. Each action counts as 1 upload:
- Optimize (MakeTiny)
- Convert
- Resize
Need more? Create an account and upgrade anytime:
- Register: Create a free account
- Compare plans: Pricing
When should I resize?
- You know the exact space an image should fill (e.g., 1200×630 cover).
- A huge photo slows your page; downsizing saves bandwidth.
- You want a uniform gallery where all images match sizes.
Quick tour of the screen
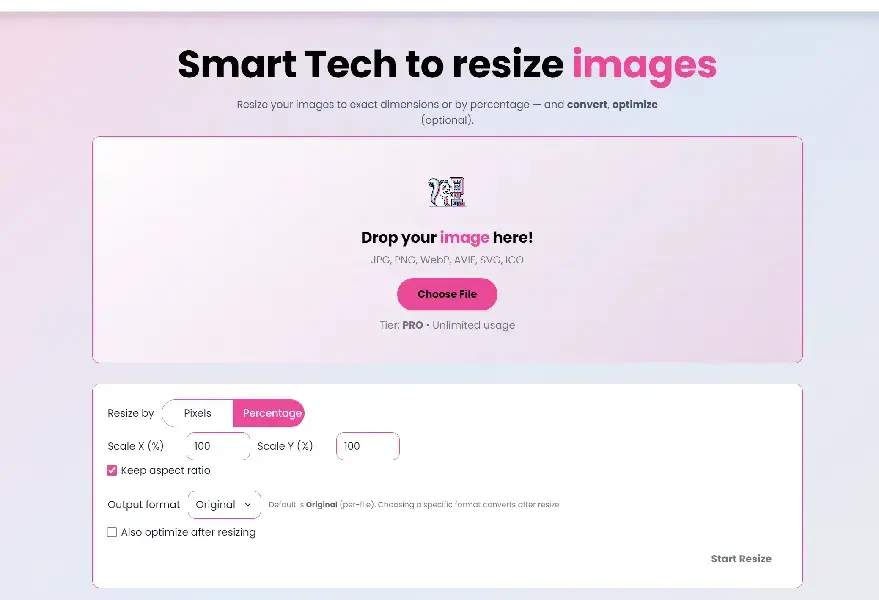
 The Resizer screen with the upload area, size inputs, fit mode, and action button.
- Upload area: drop or pick images to resize.
- Width/Height: your target size. You can fill one or both.
- Fit mode (cover/contain):
- Cover: fills the box completely (may crop edges).
- Contain: fits the whole image inside (may leave empty margins if different shape).
- Output format: choose file type (e.g., WebP, JPG, PNG).
- Resize/Download: the action to produce the new file.
Step-by-step: Resize an image
- Open: Image Resizer
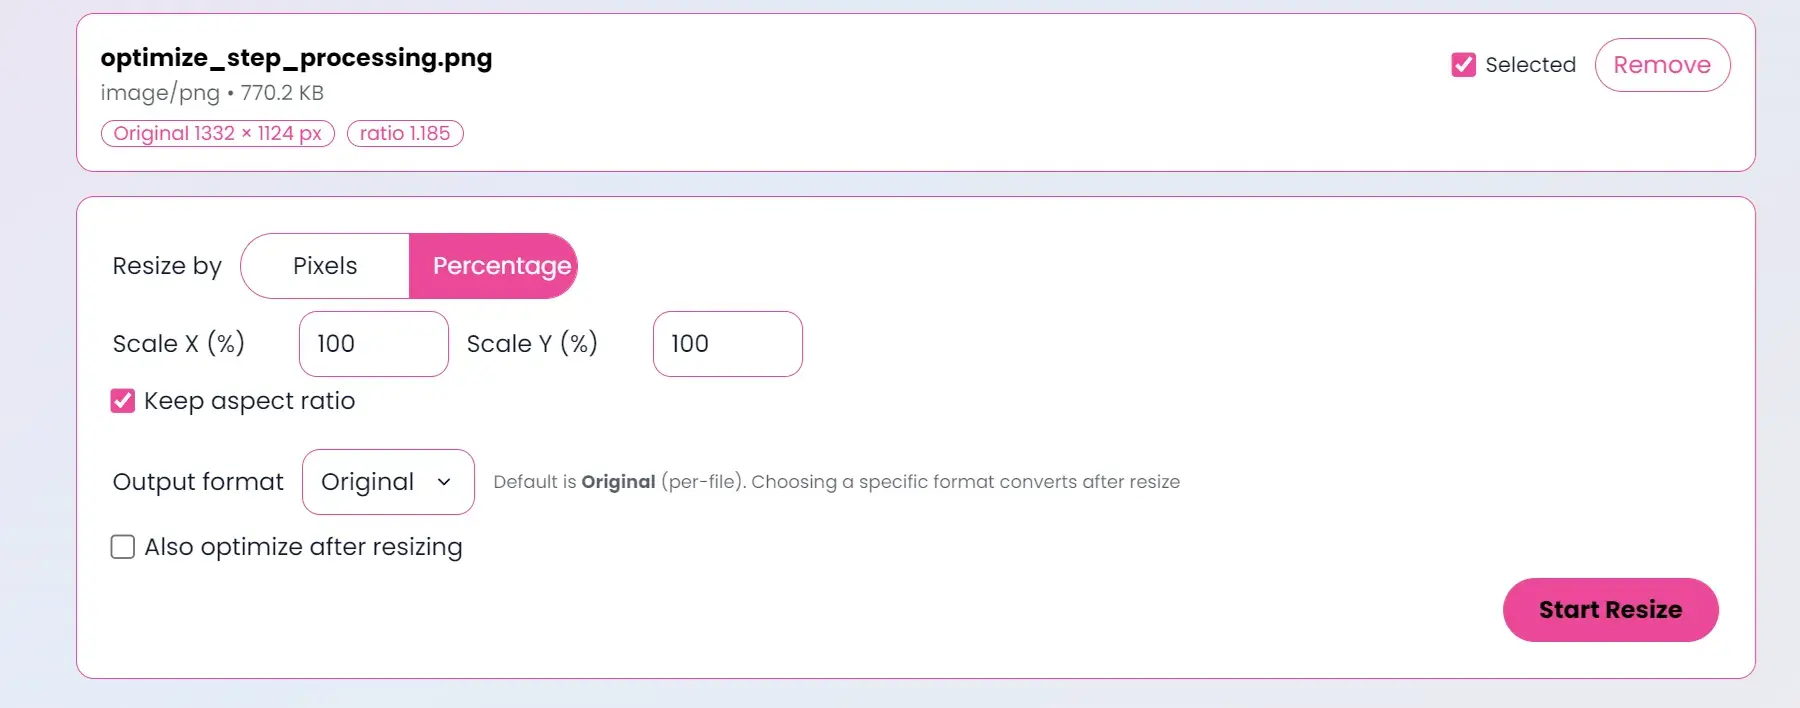
- Add your image(s) with “Choose Files” or drop them in.
- Enter a Width (e.g., 1600). Height is optional — the tool can keep proportions if you leave it empty.
- Choose Fit mode:
- Use Cover for banners/hero images when you want a precise crop.
- Use Contain for product images you don’t want cropped.
- Pick the output format (WebP is a great default for the web).
- Click Resize, then Download your new image.
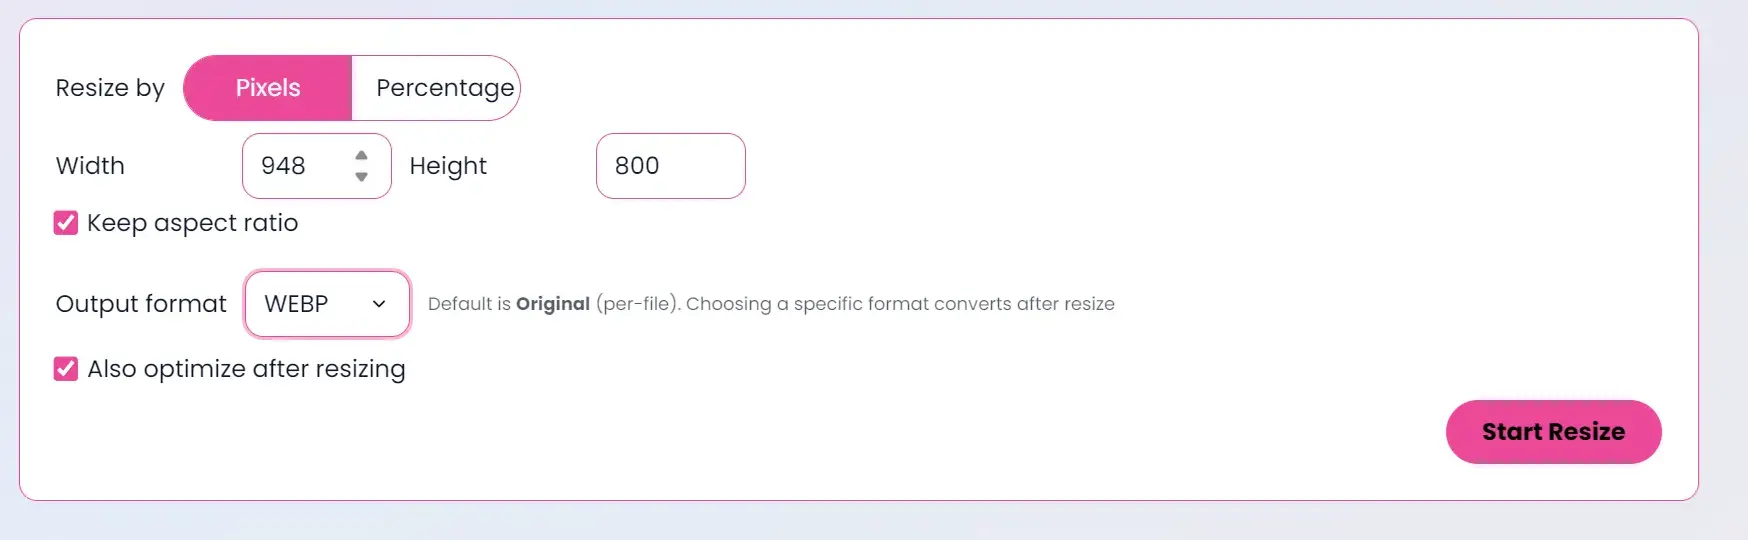 Enter width/height and adjust Fit mode.
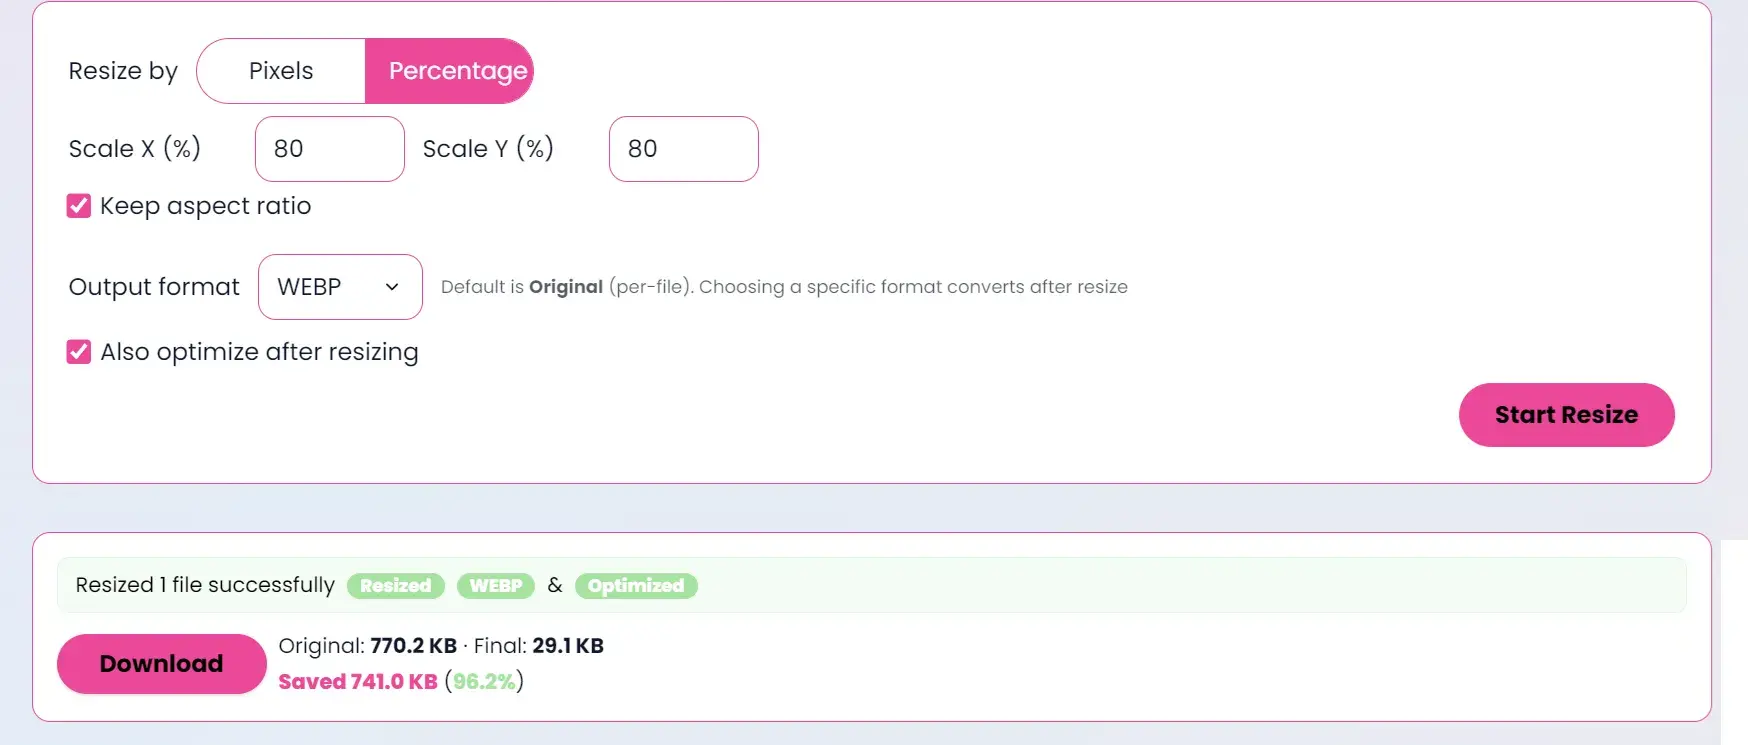 Preview and download your resized image.
Tips
- For web banners, 1600–1920px width is often enough.
- Don’t upload a 6000px image if it will be shown at 800px — you’ll save a lot by resizing first.
- Choose WebP for smaller files without obvious quality loss.
Troubleshooting
- If the image looks cropped unexpectedly, switch Fit mode to Contain.
- If you need a transparent background, stick to PNG or WebP.
See also
- Compress images to save even more: MakeTiny
- Convert to modern formats: Image Converter